
Linux小记
记录一些针对于Linux的操作指令,服务器/开发机等
服务器上CentOS的一些指令
防火墙
使用系统指令
1
2
3
4
5
6
7
| systemctl start firewalld #开启
systemctl stop firewalld #关闭
systemctl restart firewalld #重启
systemctl reload firewalld #重新加载
systemctl status firewalld #查看状态
systemctl enable firewalld #设置开机自启动
systemctl disable firewalld #取消开机自启动
|
使用firewall-cmd指令
1
2
3
4
5
6
7
8
9
| firewall-cmd --state #查看状态
firewall-cmd --reload #重新加载
firewall-cmd --add-port=80/tcp --permanent #永久添加端口
firewall-cmd --list-ports #查看端口
firewall-cmd --list-all #查看所有规则
firewall-cmd --list-services #查看所有服务
firewall-cmd --add-service=http #添加服务
firewall-cmd --add-service=http --permanent #永久添加服务
firewall-cmd --remove-service=http #删除服务
|
记录一些ubuntu22.04上的操作
美化操作
更新
1
2
| sudo apt update
sudo apt upgrade
|
安装相关依赖软件
1
2
| sudo apt install gnome-tweaks chrome-gnome-shell
sudo apt install gnome-shell-extensions
|
美化
去到Firefox或者Chrome中下载gnome插件,然后下载对应的美化包、执行操作。这玩意儿装的扩展可以在系统菜单下的扩展里找到打开
flameshot安装使用
安装
1
| sudo apt-get install flameshot
|
设置快捷键
使用指令flameshot gui即可对屏幕进行截取,一般在设置中增加自定义快捷键F1,将其与截屏指令绑定
对于aria2的安装使用
aria2的github仓库
基本
安装
1
| sudo apt-get install aria2
|
配置
1
2
3
4
| mkdir /etc/aria2 #新建文件夹
touch /etc/aria2/aria2.session #新建session文件
chmod 777 /etc/aria2/aria2.session #设置aria2.session可写
vim /etc/aria2/aria2.conf #创建配置文件
|
这是aria2.conf文件对应内容,具体配置可更改:
1
2
3
4
5
6
7
8
9
10
11
12
13
14
15
16
17
18
19
20
21
22
23
24
25
26
27
28
29
30
31
32
33
34
35
36
37
38
39
40
41
42
43
44
45
46
47
48
49
50
51
52
53
54
55
56
57
58
59
60
61
62
63
64
65
66
67
68
69
70
71
72
73
74
75
76
77
78
79
80
81
82
83
84
85
86
87
88
89
90
91
92
93
94
95
96
97
98
99
100
101
102
103
104
105
106
107
108
109
110
111
112
113
114
115
116
117
118
119
120
121
122
123
124
125
126
127
128
129
130
131
132
133
134
135
136
137
138
139
140
141
142
143
144
145
146
147
148
149
150
151
152
153
|
dir=/home/Aria2/Downloads/
input-file=/etc/aria2/aria2.session
save-session=/etc/aria2/aria2.session
save-session-interval=30
continue=true
file-allocation=none
user-agent=netdisk;5.2.6;PC;PC-Windows;6.2.9200;WindowsBaiduYunGuanJia
referer=http://pan.baidu.com/disk/home
disable-ipv6=true
always-resume=true
check-integrity=true
max-concurrent-downloads=10
max-connection-per-server=10
min-split-size=10M
split=5
enable-rpc=true
rpc-allow-origin-all=true
rpc-listen-all=true
rpc-listen-port=6800
listen-port=51413
enable-dht=false
dht-file-path=/opt/var/aria2/dht.dat
dht-file-path6=/opt/var/aria2/dht6.dat
enable-peer-exchange=false
peer-id-prefix=-TR2770-
seed-ratio=0
bt-seed-unverified=true
bt-save-metadata=true
bt-max-open-files=16
connect-timeout=120
|
启动aria2
1
| aria2c --conf-path=/etc/aria2/aria2.conf
|
使用
在可以正常启动的情况下,可以开启后台启动(终端不会显示进程日志)
1
| aria2c --conf-path=/etc/aria2/aria2.conf -D
|
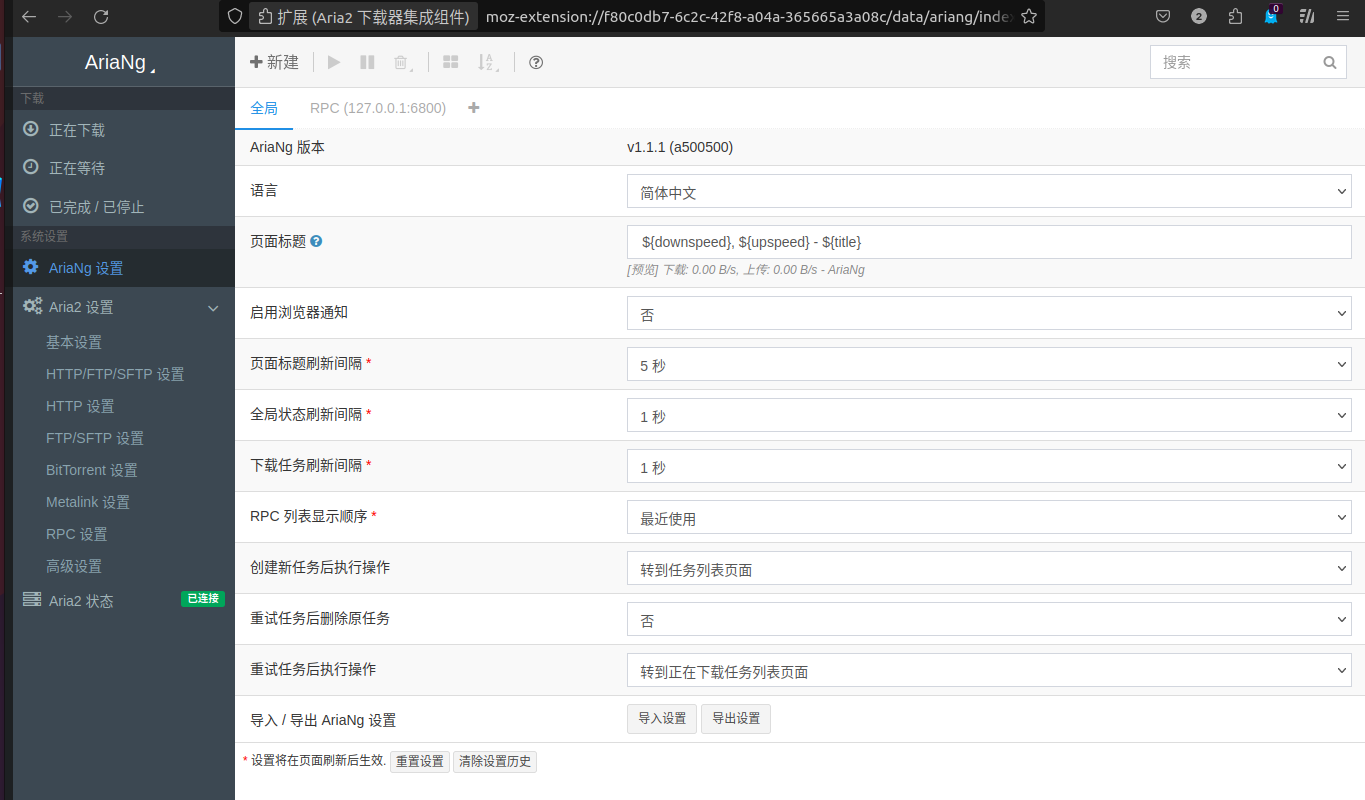
接下来选择使用web端或者客户端gui形式对下载任务、配置来可视化操作,前者在浏览器中下载“Aria2下载器集成组件”,后者可在aria2的安装路径下使用命令行启动
可选
设置aria2开机启动
新建启动脚本
1
2
3
4
5
6
7
8
9
10
11
12
13
14
15
16
17
18
19
20
21
22
23
24
25
26
27
28
| #!/bin/sh
case "$1" in
start)
echo -n "已开启Aria2c"
sudo aria2c --conf-path=/etc/aria2/aria2.conf -D
;;
stop)
echo -n "已关闭Aria2c"
killall aria2c
;;
restart)
killall aria2c
sudo aria2c --conf-path=/etc/aria2/aria2.conf -D
;;
esac
exit
|
修改文件权限(a+x)
1
| sudo chmod 755 /etc/init.d/aria2c
|
添加开机启动服务
1
| sudo update-rc.d aria2c defaults
|
启动
1
| sudo service aria2c start
|
可查看服务状态
1
| sudo systemclt status aria2c
|
安装搜狗输入法
搜狗官方安装文档
更新
安装fcitx
然后可以使用优化或者命令行使得fcitx可以开机自启动
安装搜狗输入法
去到搜狗输入法官网下载对应版本,
–> 官网,然后解压安装
安装
1
2
| sudo apt install libqt5qml5 libqt5quick5 libqt5quickwidgets5 qml-module-qtquick2
sudo apt install libgsettings-qt1
|
重启之后就能看到Fcitx对应的输入法了,再对其稍稍配置
卸载默认的ibus输入法框架(可选)
针对firefox无法打开简书
-
地址栏输入about:config,接受风险进入
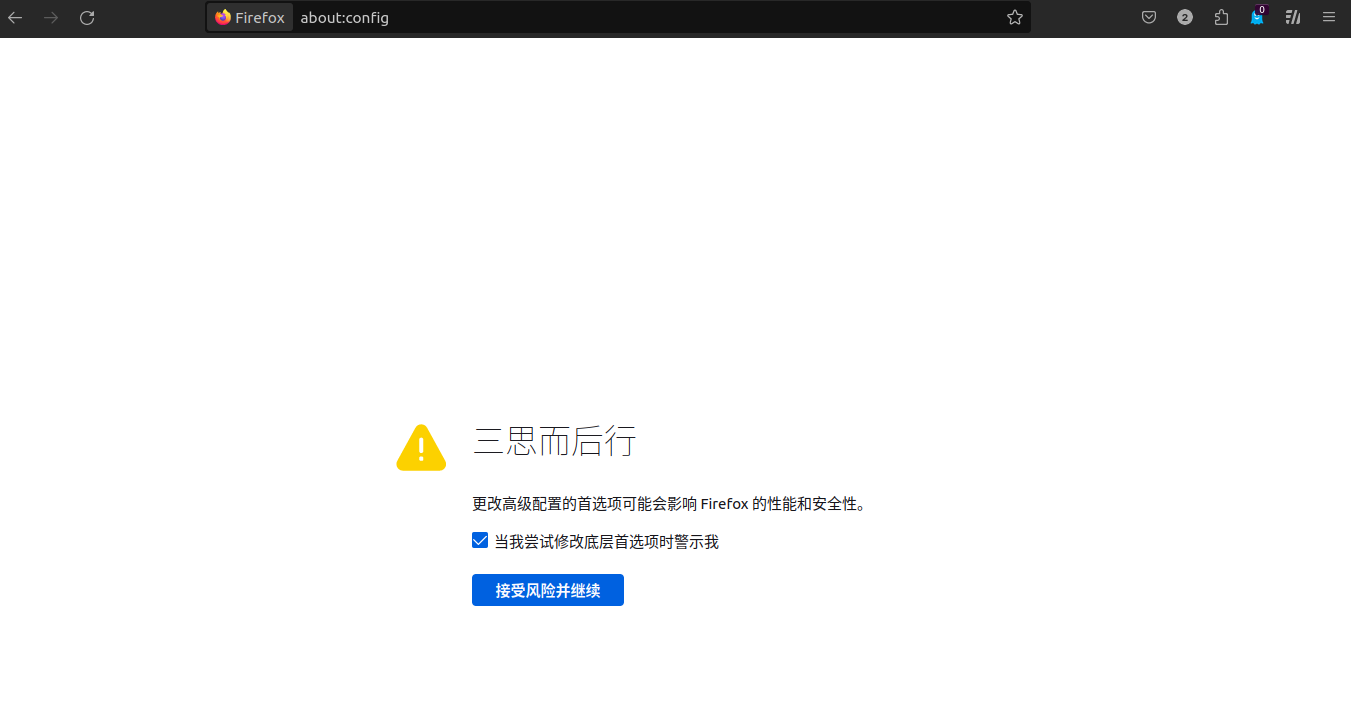
-
上方搜索栏查找general.useragent.overrride,未找到则新建字符串,填入Mozilla/5.0 (X11; Linux x86_64; rv:109.0) Gecko/20100101 Firefox/119.0
 ,后续即可访问
